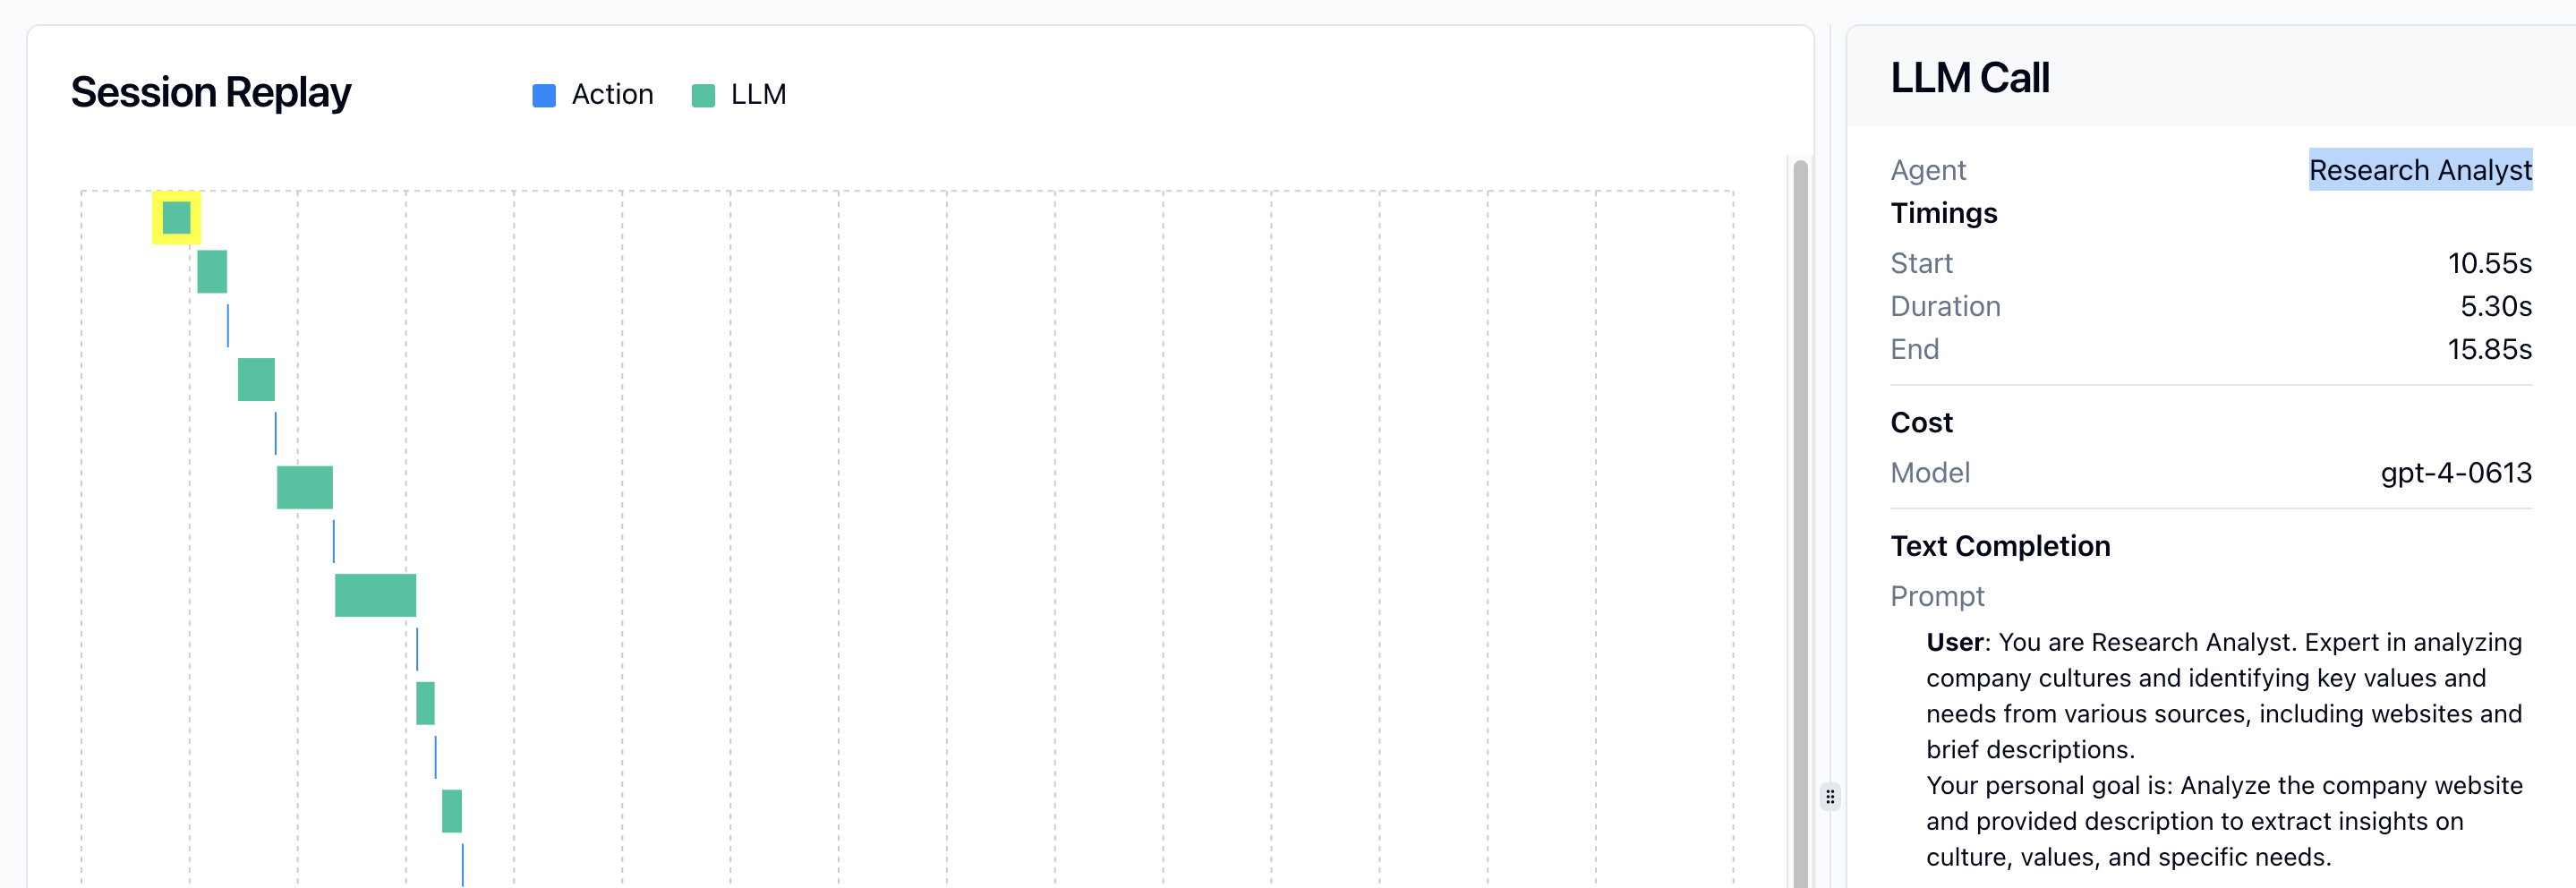
Tracking Agents
Use the @track_agent()
decorator to tag your agents
All Events are automatically associated with the agent that originated them. Agents are given a name which is what you will see in the dashboard.
![](https://mintlify.s3-us-west-1.amazonaws.com/agentops/images/agent-name.png)
This event is labeled with the name of the Agent that originated it
The example below tags the agent MyAgent with name SomeCustomName
.
from agentops import track_agent
@track_agent(name='SomeCustomName')
class MyAgent:
...
trackagent.name
is optional.
If omitted, agent name defaults to the name of the class (e.g. MyAgent).
If an event does not originate from a tracked agent, agent name defaults to “Default Agent”.
Assigning Agents to a Session
If you are using multiple concurrent sessions, it’s important to assign a new agent to a session.
When the @track_agent()
decorator is used on an agent class, it adds an additional keyword param session
.
@track_agent()
class custom_agent:
def completion(self, ...):
...
session = agentops.create_session()
agent = custom_agent(session=session)
agent.completion(...)
session.end_session()
In this example, we create a custom agent class. We initialize an agent object and pass in the session to ensure the agent is assigned properly.
Was this page helpful?